Overview
Regular cleaning of your CPAP equipment prevents bacteria growth, mold, and mineral buildup, extends the life of your equipment, and ensures your therapy remains safe and effective. A proper maintenance routine includes daily, weekly, and monthly tasks, each taking only a few minutes of your time.
The American Academy of Sleep Medicine (AASM) recommends that all CPAP users establish and maintain a regular cleaning schedule. Neglecting equipment hygiene is one of the most common yet preventable causes of CPAP-related respiratory issues and skin irritation. This guide provides a complete, evidence-based cleaning routine you can follow starting today.
Why Cleaning Matters
Every time you use your CPAP machine, the warm, humid environment inside the mask, tube, and humidifier chamber creates ideal conditions for the growth of bacteria, mold, and yeast. Over time, additional contaminants accumulate:
- Bacteria and mold — the warm, moist air path is a breeding ground for microorganisms that can cause respiratory infections, pneumonia, and sinus infections
- Mineral buildup — tap water leaves calcium and mineral deposits inside the humidifier chamber that reduce performance and can harbor bacteria
- Skin oils and dead skin cells — facial oils transfer to the mask cushion nightly, degrading the silicone and causing acne breakouts and skin irritation
- Unpleasant odor — accumulated organic matter produces a musty or sour smell that makes the mask uncomfortable to wear
- Reduced seal quality — oil and debris on the mask cushion prevent a proper seal, increasing air leaks and reducing therapy effectiveness
Mayo Clinic and the AASM both emphasize that regular cleaning is essential for safe and effective CPAP therapy. A clean system also extends the usable life of your equipment, saving you money on premature replacements.
Daily Cleaning Routine
Your daily cleaning routine takes approximately 2 minutes and should be done every morning after you wake up. Consistency is key — making this a morning habit ensures your equipment is clean and dry by bedtime.
- Disconnect the mask from the tube — separate the mask assembly from the CPAP tube
- Wipe the mask cushion — use a soft, damp cloth (warm water only, no soap) to gently wipe the mask cushion and remove facial oils and residue. This preserves the silicone and maintains seal quality.
- Empty the humidifier water chamber — pour out any remaining water from the previous night. Do not leave standing water in the chamber during the day as this promotes bacterial growth.
- Let everything air dry — place the mask on a clean towel away from direct sunlight and allow it to air dry completely before the next use
That is all that is needed daily. This simple routine prevents the majority of hygiene-related issues.
Weekly Cleaning Routine
Once a week, perform a more thorough cleaning of all CPAP components. Choose a day that works for your schedule — many users clean on weekend mornings. This process takes approximately 15 minutes of active time, plus drying time.
- Disassemble all components — separate the mask cushion, headgear, frame, and tube from each other and from the machine
- Soak in warm soapy water — fill a basin or clean sink with warm (not hot) water and a small amount of mild, fragrance-free dish soap. Submerge the mask, headgear, and tube for 15 to 30 minutes. Gently swish the water through the tube to clean the interior.
- Rinse thoroughly — rinse all parts under clean running water until all soap residue is completely removed. Soap residue can irritate your skin and degrade silicone.
- Air dry completely — hang the tube to allow water to drain from both ends. Place the mask and headgear on a clean towel in a well-ventilated area. Ensure everything is completely dry before reassembling. Residual moisture promotes bacterial growth.
- Clean the humidifier chamber — empty the chamber and soak it in a solution of one part white vinegar to three parts warm water for 15 to 30 minutes. This dissolves mineral deposits. Rinse thoroughly with clean water and air dry.
Monthly Maintenance
In addition to your daily and weekly routines, perform a monthly inspection of all CPAP components. This is your opportunity to catch wear and tear before it affects therapy quality.
- Inspect all parts for wear and tear — look for cracks, discoloration, stiffness, or deformation in the mask cushion, headgear, and tube
- Replace the disposable filter — most CPAP machines use a small disposable filter (usually white) that should be replaced every 1 to 3 months, or sooner if visibly dirty or discolored. Check your machine for a reusable filter as well — rinse it under water and let it dry completely before reinserting.
- Check the tube for holes or cracks — hold the tube up to a light source and look for pinholes or thin spots. Run your fingers along the length to feel for rough patches or cracks. Any damage compromises therapy pressure and introduces leak.
- Check the mask cushion for deterioration — silicone cushions become stiff, discolored, or develop tears over time. If the cushion no longer creates a comfortable seal even after adjustment, it is time to replace it.
- Wipe the machine exterior — use a soft, damp cloth to wipe down the outside of your CPAP machine. Do not submerge the machine in water. Ensure the air intake area is free of dust and pet hair.
Replacement Schedule
Even with excellent cleaning habits, CPAP components wear out over time and need regular replacement. The following schedule is based on manufacturer recommendations and AASM guidelines:
| Component | Replace Every | Signs of Wear |
|---|---|---|
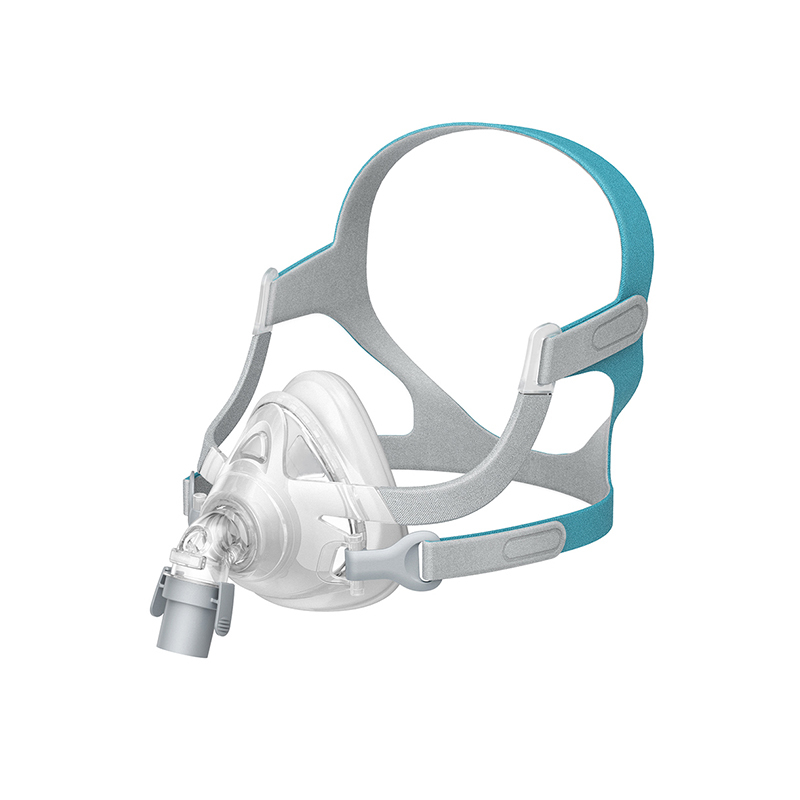
| Mask cushion / pillow | 1 – 3 months | Stiff, cracked, discolored, poor seal |
| Full mask frame | 6 – 12 months | Cracked clips, warped frame, persistent leak |
| Headgear / straps | 6 months | Stretched elastic, fraying, velcro not holding |
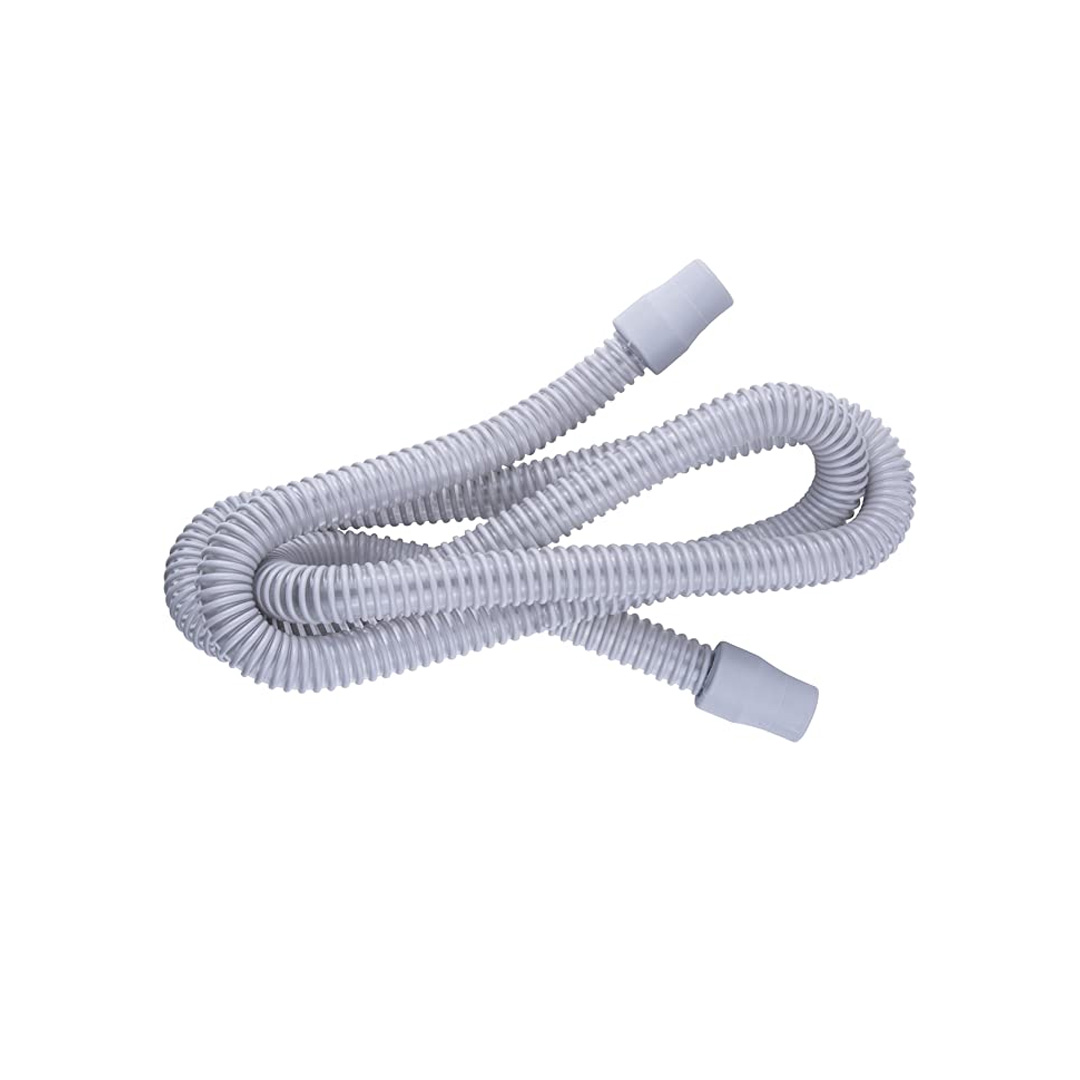
| CPAP tube | 3 – 6 months | Holes, cracks, cloudiness, persistent odor |
| Disposable filter | 1 – 3 months | Discolored, dirty, restricted airflow |
| Humidifier chamber | 6 – 12 months | Mineral deposits that do not clean off, cracks, discoloration |
Replace components sooner if you notice visible damage or performance issues. Browse our nasal mask, full face mask, and CPAP tube for high-quality replacement parts.
Do's and Don'ts
Do
- Use distilled water in the humidifier — distilled water contains no minerals, preventing white buildup inside the chamber. If distilled water is not available, use filtered or boiled (then cooled) water.
- Air dry all components completely — residual moisture is the primary cause of bacterial and mold growth. Never reassemble damp equipment.
- Clean on a regular schedule — consistency matters more than perfection. A simple daily wipe and weekly soak keeps your equipment safe.
- Replace parts on schedule — do not wait until components fail. Follow the replacement schedule to maintain therapy quality.
- Wash your face before bed — removing facial oils before wearing the mask keeps the cushion cleaner and extends its life.
- Store equipment in a clean, dry location — avoid dusty areas, direct sunlight, and extreme temperatures.
Do Not
- Do not use bleach or harsh chemicals — bleach damages silicone, plastics, and rubber components. It also leaves harmful residue that you will inhale.
- Do not put CPAP parts in the dishwasher — the high heat warps plastics and degrades silicone cushions irreparably.
- Do not use scented soaps or antibacterial soaps — fragrances and harsh antibacterial agents can irritate your skin and airways. Use only mild, fragrance-free dish soap.
- Do not reuse humidifier water — always empty leftover water each morning and refill with fresh distilled water each night. Standing water is a bacterial breeding ground.
- Do not use UV or ozone CPAP cleaners — the U.S. Food and Drug Administration (FDA) has issued safety warnings against UV and ozone CPAP cleaning devices. The FDA states there is no adequate evidence these devices effectively clean CPAP equipment, and ozone residue may cause respiratory irritation. Manual washing with soap and water remains the recommended cleaning method.
- Do not use alcohol or essential oils — rubbing alcohol dries out and cracks silicone. Essential oils leave residues and can trigger allergic reactions when inhaled through the mask.
- Do not dry components with a hair dryer or in the dryer — heat damages silicone and plastic. Always air dry at room temperature.